Introduction
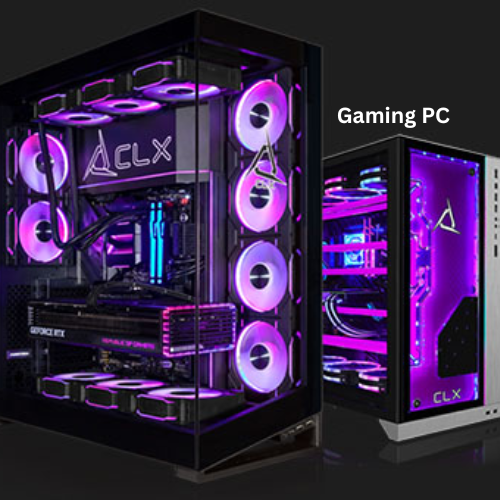
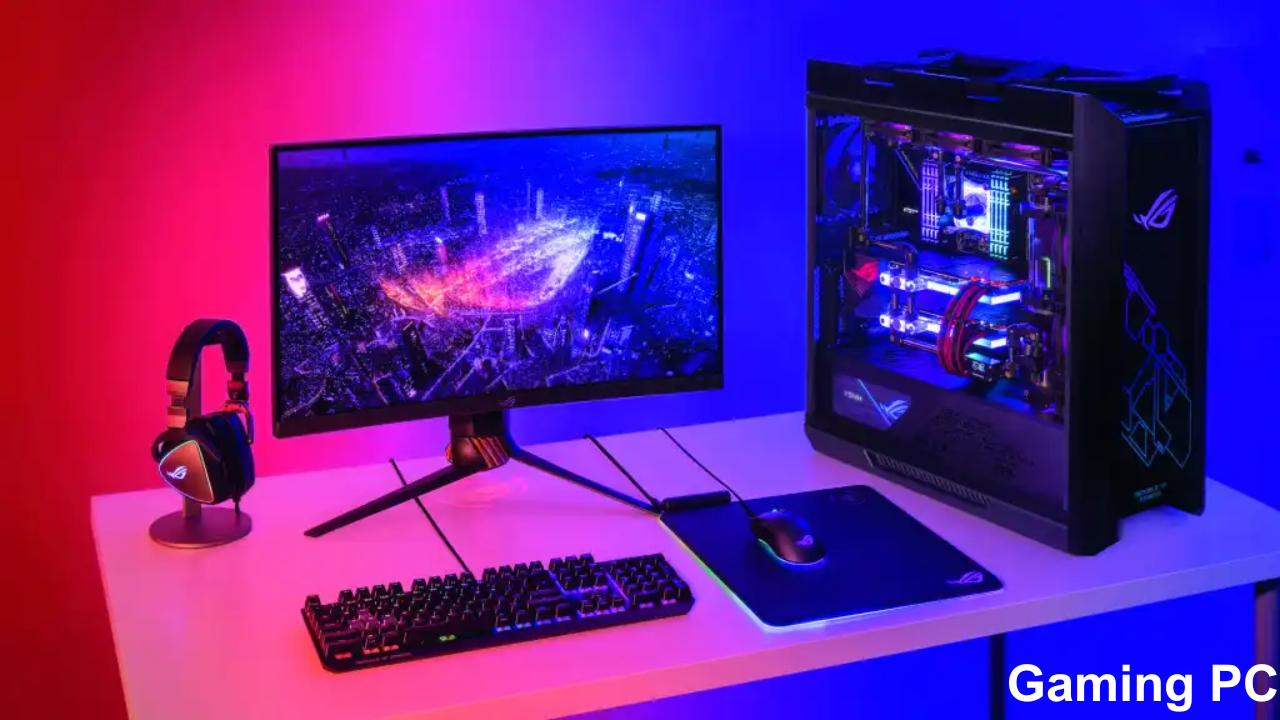
Imagine stepping into the world of gaming with a custom-built PC that perfectly fits your needs. Building your own gaming rig may seem daunting, but it’s a rewarding experience that offers unmatched performance and customization. In this guide, we will walk you through the process of building a custom gaming PC from scratch, ensuring you have all the knowledge and confidence to create a machine that will elevate your gaming experience.
Planning Your Custom Gaming PC
Before diving into the build, it’s essential to plan out your custom gaming PC. This involves determining your budget, understanding the components you’ll need, and deciding on the performance level you desire.
Setting a Budget
Your budget will dictate the components you can afford and the overall performance of your gaming PC. Whether you’re looking to spend $500 or $2000, having a clear budget will help you make informed decisions.
Choosing the Right Components
Selecting the right components is crucial for building a gaming PC that meets your needs. Here are the primary components you’ll need:
Central Processing Unit (CPU)
The brain of your PC. Choose a CPU that offers good performance for gaming. Popular choices include AMD Ryzen and Intel Core processors.

Graphics Processing Unit (GPU)
The heart of your gaming experience. A powerful GPU will ensure smooth gameplay and high-quality graphics. NVIDIA and AMD are leading manufacturers.
Motherboard
The backbone of your PC, connecting all components. Ensure compatibility with your chosen CPU and GPU.
Memory (RAM)
Vital for multitasking and smooth gameplay. Aim for at least 16GB of RAM.
Storage
Choose between SSDs for faster load times and HDDs for larger storage capacity. You can check out Samsung SSDs or Western Digital HDDs.
Power Supply Unit (PSU)
Provides power to your components. Ensure it has enough wattage for your build.
Case
Houses all your components. Choose a case with good airflow and enough space for future upgrades.
Cooling System
Keeps your components cool. Consider air cooling or liquid cooling solutions.
Assembling Your Custom Gaming PC
Once you’ve gathered all your components, it’s time to assemble your gaming PC. Follow these steps carefully to ensure a successful build:
Step 1: Prepare Your Workspace
Set up a clean, static-free workspace with all your tools and components. This will help prevent damage to sensitive parts.
Step 2: Install the CPU
Open the CPU socket on the motherboard.
Align the CPU with the socket and gently place it in.
Secure the CPU with the socket lever.
Step 3: Install the CPU Cooler
Apply a small amount of thermal paste to the CPU.
Attach the CPU cooler according to the manufacturer’s instructions.
Step 4: Install RAM
Locate the RAM slots on the motherboard.
Align the RAM modules with the slots and press down firmly until they click into place.
Step 5: Install the Motherboard
Place the motherboard inside the case and align it with the standoff screws.
Secure the motherboard with screws.
Step 6: Install the GPU
Locate the PCIe slot on the motherboard.
Align the GPU with the slot and press down until it clicks into place.
Secure the GPU with screws.
Step 7: Install Storage
If using an SSD, install it in the designated slot on the motherboard.
If using an HDD, mount it in the drive bay and connect it to the motherboard.
Step 8: Connect Power Supply
Place the PSU in its designated area in the case.
Connect the power cables to the motherboard, GPU, storage devices, and other components.
Step 9: Manage Cables
Organize and secure cables to ensure good airflow and a clean build.
Step 10: Power On and Test
Connect your monitor, keyboard, and mouse.
Power on the PC and enter the BIOS to check if all components are recognized.
Installing Operating System and Drivers
Once your PC is assembled and powered on, it’s time to install the operating system (OS) and drivers.
Installing the OS
Insert the OS installation media (USB or DVD) and boot from it.
Follow the on-screen instructions to install the OS.
Installing Drivers
Install the motherboard drivers from the manufacturer’s website.
Install the GPU drivers from the NVIDIA or AMD website.
Install any additional drivers for peripherals.
Tips and Tricks for Building a Custom Gaming PC
Future-Proofing Your Build
Consider components that allow for future upgrades. For example, choose a motherboard with extra RAM slots and support for newer CPUs.
Maintaining Your PC
Regularly clean your PC to prevent dust buildup and ensure optimal performance. Use compressed air to clean the components and check for any loose cables.
Overclocking
If you’re looking to squeeze extra performance out of your components, consider overclocking the CPU and GPU. Be sure to research and follow proper procedures to avoid damaging your hardware.
Conclusion
Building a custom gaming PC may seem challenging, but with the right guidance and preparation, it can be a fun and rewarding experience. By following this guide, you’ll have a powerful and personalized gaming rig that can handle the latest games and future upgrades. Remember to plan carefully, choose the right components, and take your time during the assembly process.
For more tips and affordable PC solutions, visit Bytfix Shop for your gaming and PC building needs.
